Asphalt is a ubiquitous material in the construction world, known for its durability and versatility. However, when it comes to specialized applications like waterproofing, roofing, and certain types of flooring, blown asphalt takes the spotlight. This guide will walk you through the nuances of working with blown asphalt, ensuring your projects benefit from this unique material’s full potential.
Understanding Blown Asphalt
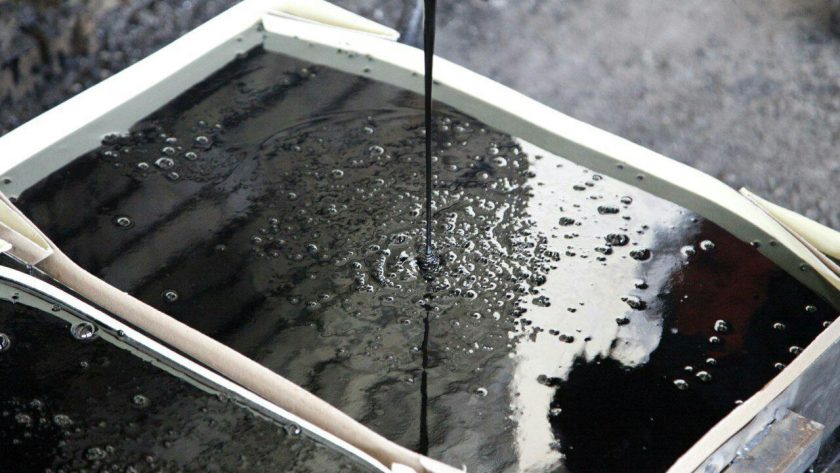
Before diving into the how-to, let’s first understand what blown asphalt is. Also known as oxidized bitumen, blown asphalt is created by blowing air into liquid asphalt at high temperatures. This process makes it more resistant to water and temperature fluctuations – a critical feature for many construction projects.
Step 1: Identifying the Right Application
Blown asphalt is not a one-size-fits-all solution. It’s essential to identify if your project really needs the unique properties of this material. It’s perfect for jobs requiring a robust, waterproof, and temperature-resistant sealant, such as roofing, waterproofing basements, or underlayment for flooring.
Step 2: Preparing the Surface
Preparation is key. Ensure the surface where you’ll be applying the blown asphalt is clean, dry, and free from debris. Any moisture or dirt can hinder the asphalt’s ability to adhere properly, compromising its effectiveness.
Step 3: Heating It Up
Blown asphalt is typically used in a molten state. You’ll need to heat it until it reaches the correct application temperature. This is a delicate process – too hot, and you risk altering its properties; too cool, and it won’t spread evenly.
Step 4: Applying the Blown Asphalt
Once heated, apply the blown asphalt carefully and evenly. Depending on the project, you might use a spreader, a trowel, or even a sprayer. Always follow safety protocols, as hot asphalt can be hazardous.
Step 5: Allowing for Proper Setting
After application, give the asphalt time to cool and set. This process solidifies the material, creating a strong, impermeable layer. The setting time can vary based on the ambient temperature and the thickness of the application.
Step 6: Checking for Quality
Once set, inspect your work. Look for any uneven areas or spots where the asphalt might not have adhered properly. A thorough check ensures longevity and effectiveness.
Step 7: Maintenance and Upkeep
While blown asphalt is low-maintenance, regular checks, especially in high-traffic areas, can extend its lifespan. Look for signs of wear or damage, and address them promptly to maintain its protective qualities.
Conclusion
Working with blown asphalt can seem daunting, but understanding its properties and the correct application techniques makes it a valuable asset in your construction toolkit. For more information on high-quality blown asphalt and its applications, explore the options at RUACORP, where you’ll find a range of products suited for various construction needs. Remember, the right materials and methods are the cornerstones of any successful construction project.