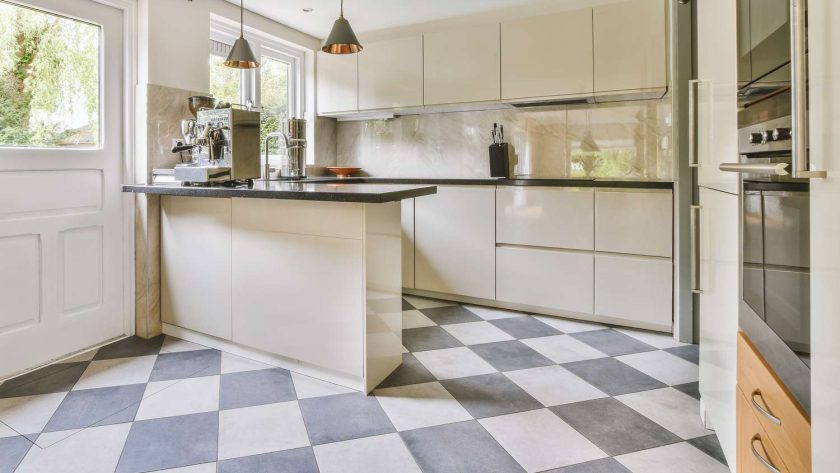
When it comes to kitchen renovations, one of the most impactful changes you can make is updating your kitchen floor tiles. Not only do they set the tone for the overall aesthetic of your kitchen, but they also need to be practical, durable, and easy to clean. This guide will walk you through the process of choosing and installing the perfect kitchen floor tiles for your home.
1. Assessing Your Needs
Before diving into the vast world of kitchen floor tiles, it’s important to assess your specific needs. Consider factors like your kitchen’s size, the amount of natural light it receives, and your household’s lifestyle. For families with pets or children, durability and ease of cleaning should be top priorities.
2. Choosing the Right Material
Kitchen floor tiles come in various materials, each with its own set of benefits:
- Ceramic: Affordable and easy to clean, ideal for budget-conscious homeowners.
- Porcelain: Known for its durability and water resistance, perfect for high-traffic kitchens.
- Natural Stone: Offers a unique, luxurious look but requires more maintenance.
For a comprehensive selection of high-quality options, explore Kitchen Floor Tiles by Manchester Kitchens. They offer a range of styles and materials to suit any kitchen design.
3. Picking the Perfect Style and Color
Your tiles should complement the overall design of your kitchen. Light-colored tiles can make a small kitchen feel more spacious, while dark tiles are better suited for larger, well-lit kitchens. Additionally, consider the tile shape and pattern – from classic squares to more modern hexagonal patterns.
4. Measuring Your Space
Accurate measurements are crucial. Measure your kitchen floor area to determine how many tiles you’ll need. Always buy extra tiles to account for cuts and breakages.
5. Preparing for Installation
Before installation, ensure your subfloor is clean, level, and dry. Any cracks or unevenness should be addressed, as they can affect the tile’s longevity.
6. Installing Your Kitchen Floor Tiles
- Lay Out Your Tiles: Dry lay your tiles to finalize the pattern and make necessary adjustments.
- Apply Adhesive: Spread tile adhesive on the floor using a notched trowel.
- Lay the Tiles: Place your tiles firmly into the adhesive, using spacers to maintain even gaps.
- Cutting Tiles: Use a tile cutter for any tiles that need to be shaped around corners or cabinets.
- Grouting: Once the adhesive is dry, apply grout between the tiles, wiping away any excess.
7. Maintenance and Care
To keep your tiles looking their best, clean them regularly with a mild detergent and avoid harsh chemicals. Sealing is recommended for natural stone tiles to prevent stains and damage.
Conclusion
Choosing and installing kitchen floor tiles can be a rewarding DIY project that transforms the look of your kitchen. By considering your needs, selecting the right materials, and following proper installation techniques, you can achieve a beautiful and durable kitchen floor. Remember, for a wide selection of quality tiles, visit Kitchen Floor Tiles at Manchester Kitchens, where you can find the perfect match for your kitchen’s aesthetic and functional needs.


