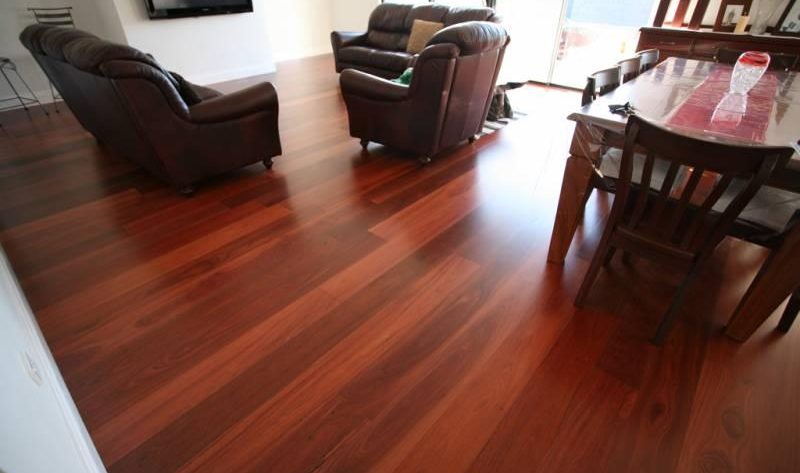
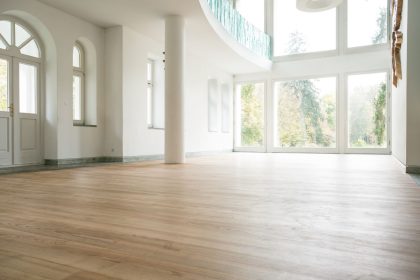
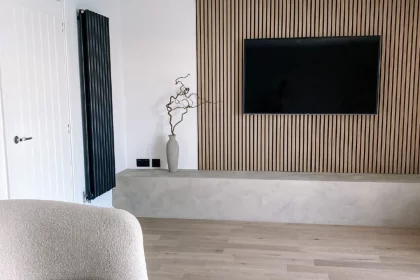
Are you new to painting and want to learn how to improve the look of polished timber floors in a commercial building? You’re in luck! In this blog post, we will give you tips and important things to remember when working with polished timber floors.
Know Your Timber
Knowing the type of timber you’re working with is crucial for several reasons. Firstly, different types of timber have varying levels of absorbency, which can affect how paint adheres to the surface. Some timbers may require additional surface preparation such as sanding or priming, to achieve a smooth and even finish.
Secondly, different types of timber have different densities and hardness levels. Softwoods such as pine or spruce may require a different approach compared to hardwoods like oak or mahogany. A softer timber may require a gentler touch when sanding or painting, while a harder timber may require more pressure and abrasion.
Thirdly, the type of timber can affect the appearance of the finished product. For example, some timbers have a distinct grain pattern that can affect how the paint looks on the surface. Additionally, the natural colour and hue of the timber can affect how the paint colour appears. Understanding the characteristics of the timber can help you choose the right paint colour and finish to complement the natural beauty of the timber.
Prepping is (Almost) Everything
Preparing the surface is a critical step in any painting project, and it’s particularly important when working with polished timber floors. These floors are often treated with a sealant or polish that can make it challenging for the paint to adhere properly. So it’s important to take the time to clean, sand, and polish the surface thoroughly before starting any painting project.
The first step in preparing the surface is to clean it thoroughly. This can be done using a broom or vacuum cleaner to remove any dust, dirt, or debris. It’s also essential to remove any existing wax or polish on the surface, as this can interfere with the paint’s adhesion.
Once the surface is clean, the next step is to sand it down. Sanding is critical for creating a smooth and even surface for the paint to adhere to. This step also helps to remove any scratches or imperfections on the surface that may interfere with the paint’s adhesion.
After sanding, it’s essential to polish the surface to create a smooth and even finish. This step is particularly important for timber floors that are already polished, as it helps to remove any remaining traces of polish or sealant.
Right Paint for the Right Surface
Choosing the right type of paint is also crucial for achieving a long-lasting finish. Not all paints are suitable for timber floors, and using the wrong type of paint can result in poor adhesion, premature wear, and an unattractive finish.
Consider the paint’s ability to adhere well to the surface of polished timber floors. Timber floors are prone to expansion and contraction with changes in temperature and humidity, which can cause paint to crack, peel, or flake over time. That’s why it’s vital to choose a paint that is formulated to flex and move with the timber, such as a high-quality floor paint or a specialized timber floor coating.
Another important consideration when selecting paint for polished timber floors is its durability. Commercial spaces are often subject to high levels of foot traffic, which can cause wear and tear on the floor surface over time. So it’s essential to choose a paint that is tough and resilient, with excellent abrasion and scratch resistance. Paint with a hard, glossy finish is often ideal for polished timber floors, as it can help to protect the surface from damage and make it easier to clean and maintain.
Right Equipment to Get the Job Done
Using the right equipment is just as important as choosing the right paint. Choosing the right brushes, rollers, and other painting tools will help you achieve an even and smooth finish that will last for years to come.
Synthetic bristle brushes are usually the best choice for painting polished timber floors as they are softer than natural bristles and won’t scratch the surface. Rollers are also a popular choice for painting timber floors, and they can help you achieve a consistent finish with less effort.
When it comes to choosing the right roller, look for ones that have a short nap, which is the length of the fibres on the roller. Short nap rollers are better suited for painting polished timber floors as they leave fewer marks on the surface. If you’re using a roller, you should also consider using an extension pole to help you reach high or hard-to-reach areas without straining your arms or back.
Time to Paint
Once you have prepared the surface and selected the right equipment, it’s time to apply the paint. This is when you can see the transformation of your polished timber floor from an ordinary one to an extraordinary one. But don’t forget to take your time and apply the paint evenly to achieve the best results.
One of the biggest mistakes that inexperienced painters make is using too much paint. It can be tempting to use more paint to cover up any imperfections or to speed up the painting process, but this can lead to drips and an uneven finish. Instead, use a steady hand and take your time to apply the paint in thin layers. You can always apply another coat later if necessary.
When painting a polished timber floor, start by cutting in around the edges of the room with a brush. This will help you create a clean line between the floor and the wall. Then, use a roller to paint the rest of the floor in small sections. Make sure to roll the paint in the direction of the grain of the wood to avoid creating visible roller marks.
But if you don’t feel confident enough, there’s no shame to get help from professionals. Hiring a professional painting contractor is a great option if you’re pressed for time or if you’re short on tools. Professional painting contractors have the necessary experience and expertise to get the job done right the first time, without the risk of costly mistakes.
Conclusion
Painting polished timber floors in a commercial space can be challenging but following the tips mentioned above will help you achieve great results. Knowing the type of timber, prepping the surface, choosing the right paint and equipment, and taking your time to apply the paint evenly are all important steps to ensure a long-lasting and polished finish. Remember, it doesn’t have to be tough because there’s plenty of help you can get! Whether you’re new to painting or an experienced professional, following these tips will help you improve the look of your polished timber floors.


